Apologies for being MIA lately... I took a much needed all-things-media break from the world. It was crucial to my health, completely refreshing, and now I am back. But how has everyone been? I have about 500 blog posts I am trying to catch up on because yes, I do still read all of your posts.
So does anyone have some spicy and awesome plans for tonight? Please share!
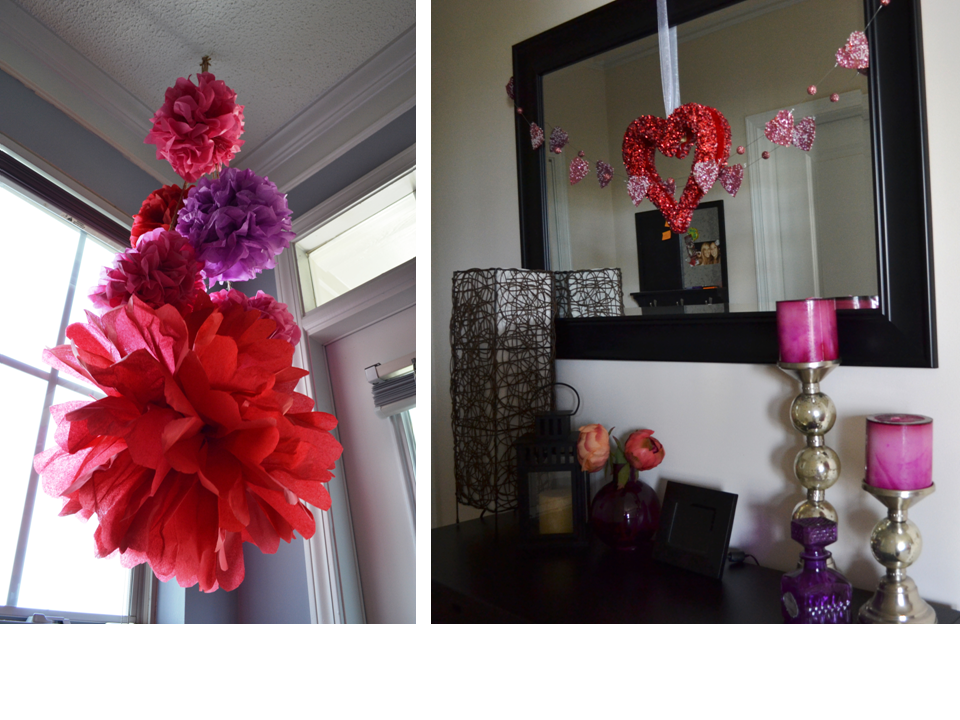
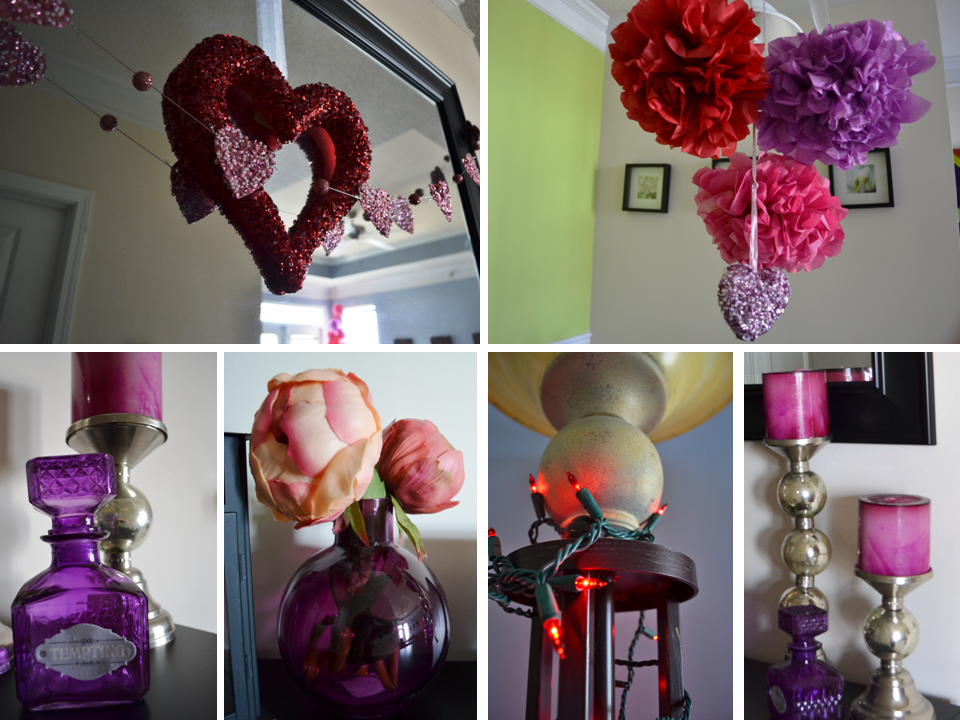
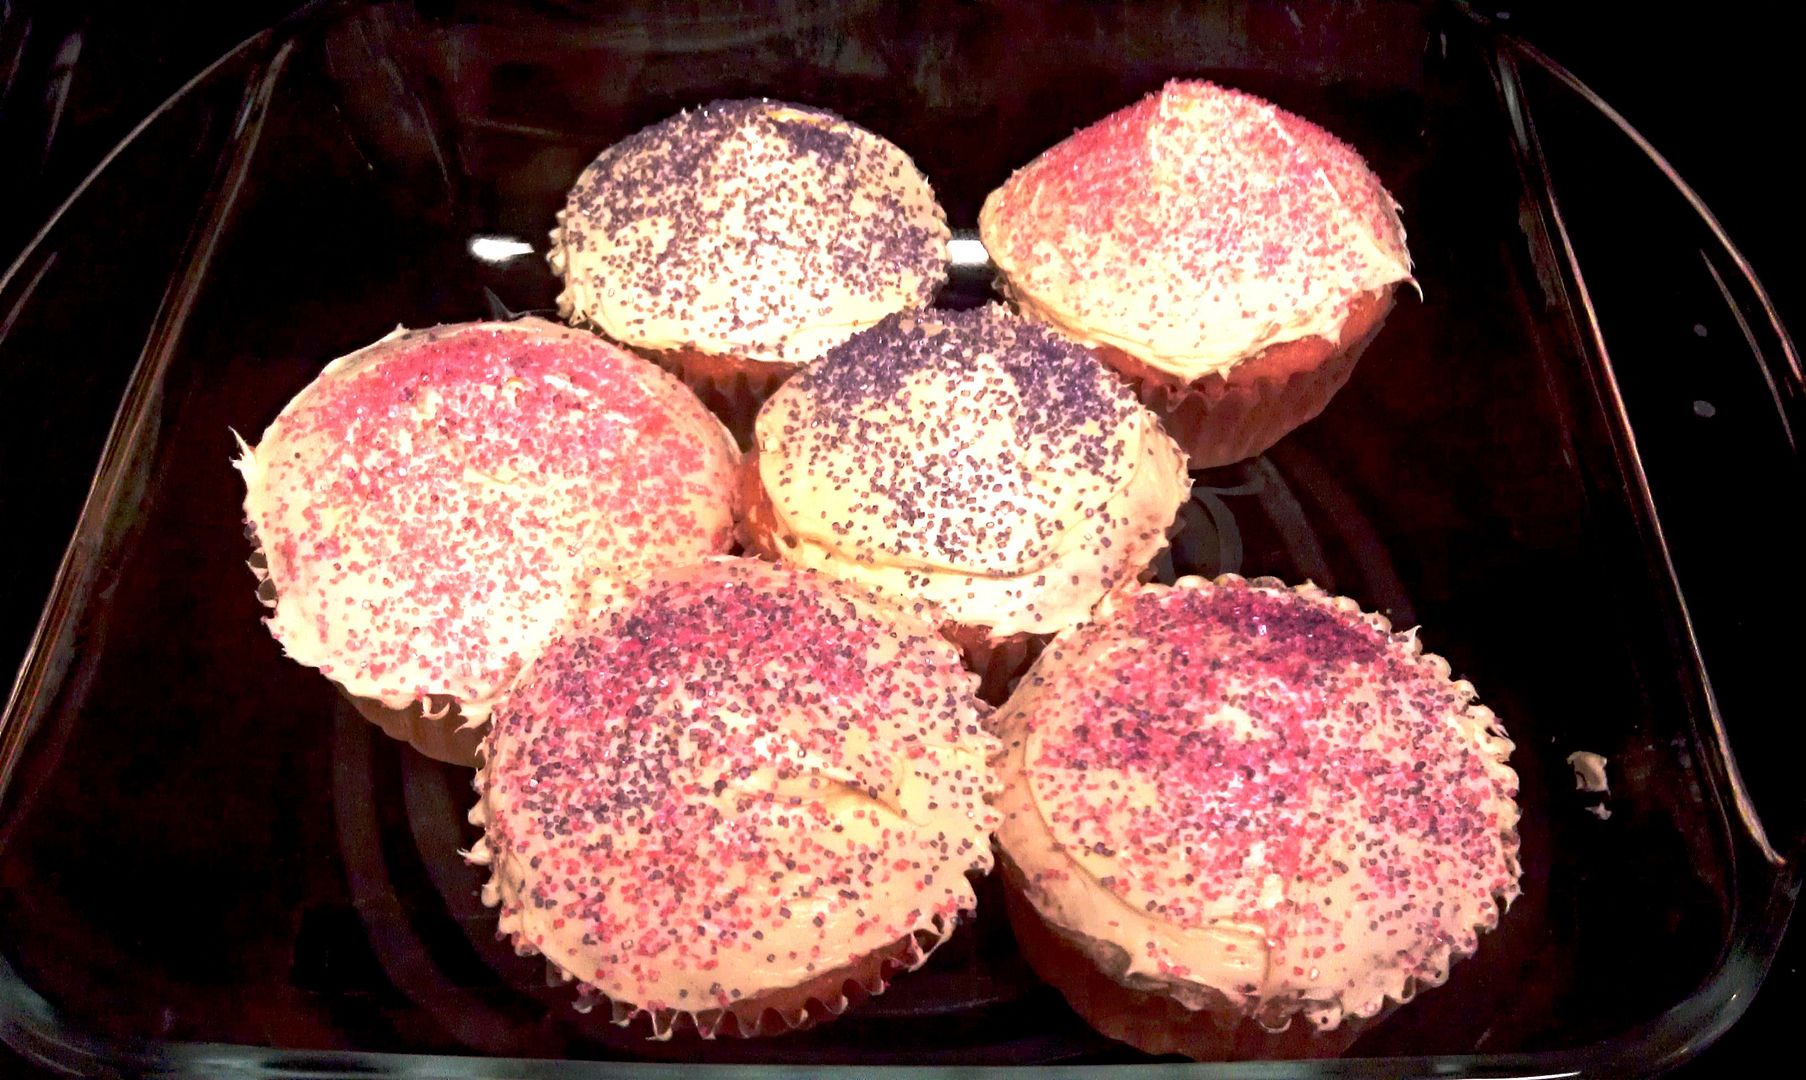
In the meantime, I thought I would show you the little Valentine's festiveness that is happenin in my little place right now. I gave myself a $20 budget for V-day decor (including cupcake mix - This is how I get my coworkers to love me) and used items I already had.
A big thing I try and remember while getting items to decorate with is to try and find a piece I can use for multiple occasions. (I used pieces from Halloween, Christmas, and Every-day decor). Also - the tissue poms poms below cost about $1 each. Money! Take a look.


I have decided that tissue poms poms are the best. and easiest. and cheapest. and awesomest little decor for any occasion/small holiday. Here's a quick tutorial
You will need:
-Packs of tissue paper
-Good scissors
-String

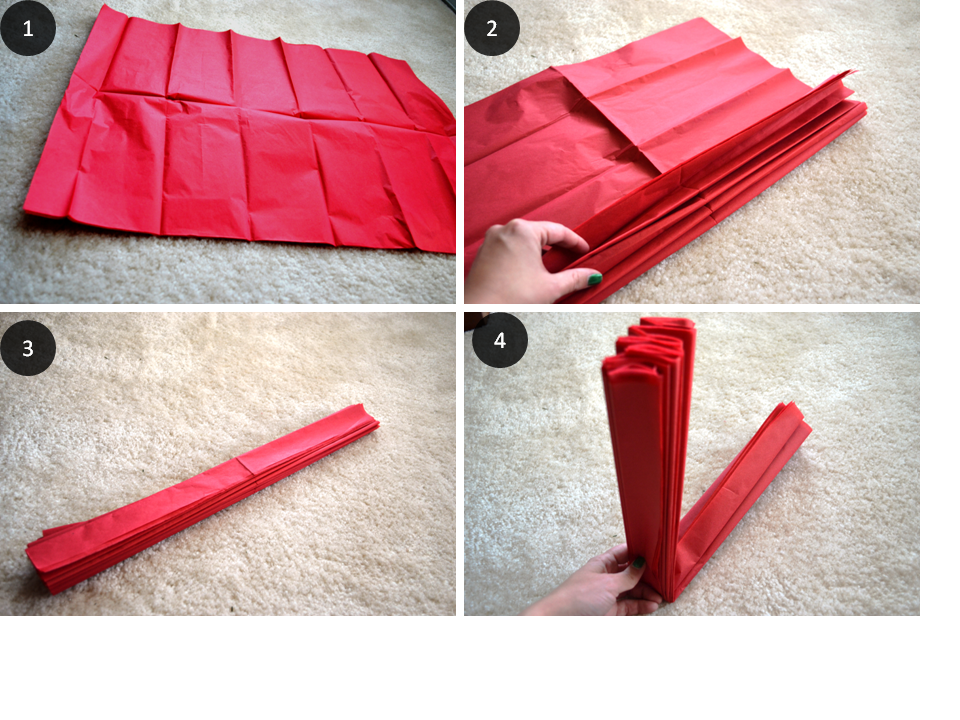
1.Lay Tissue paper sheets (of whole stack) flat on hard surface (Short edge facing you - hot dog style)
2. Fold an edge 1" to 1" 1/2" along the short side. Make sure to CREASE the edge as much as humanly possible as this will give the pom pom the shape and edges you want. After the first fold, flip the sheets and fold back over as to make an accordion fold.
3.Continue this until the whole sheet is folded and looks like the picture above.
4. Fold the folded sheet in half making a hard crease

5. Use a string to tie around the middle folded edge. Tie it hard as this will keep the pom pom together. You can also use a pipe cleaner here. I chose to use string to be able to directly hang up.
6. Cut round or angle edges on both tissue paper ends. I chose to round them as I like the look better but it is personal preference.
7. Begin GENTLY separating and puffing each sheet from one another. Be very careful not to tear the paper.
8. Once all sheets have been separated, you can readjust the individual sheets to look fuller and sculpted. Hang up and you are done!
*To make small pom poms, cut the tissue paper in half long wise (hot dog style) prior to step one.

9 comments:
I love it! thanks for sharing hun!
happy valentines day <3!!
hugs, xo!
*My Blog* BARBIE-BOMBSHELL.BLOGSPOT.COM
So cute!!! Love everything about this post!!!
Happy Valentine's Day!!!!!
very lovely
happy valentines day
I want to eat those cupcakes so bad right now. Glad you're back, I've missed you!
Love it (: So pretty. Happy Valentines day!
so cute. i love this, i love crafts.
if only there was a craft store closer to me.
happy valentines day!
i love your v-day decor and cupcakes!! wish i were your co-worker to get one of those yummy treats. and tissue pom-poms are so fun to make!!
I lovelovelove your decorations, Linsay!! They're so cute! Those tissue pom-poms are so easy to make, I want to try them sometime! :) <3
Thanks for posting!! :)
Love this tutorial! Thanks for sharing!
Post a Comment